Create a New Record Associated with the Current Visit
Creating an initial record via dictation
Dictate as usual using the Phone or Handheld Device. If you already have the Visit ID (which is created when you click “Add Visit” in Patient Chart) dictate this number as well. When the record is transcribed with Visit ID filled in by the transcriptionist, the record will automatically be associated with the Visit in Patient Chart.
If the record was dictated without the Visit ID, simply find the record in your Scribe Inbox, enter the Visit ID in the Visit ID demographic field above the open document, and click “Save”. The record will now be associated with the correct Visit in Patient Chart and will be viewable from the Patient’s Summary page for the Visit, or from the Visit Records tab for the selected patient.
Creating a Record directly in Patient Chart
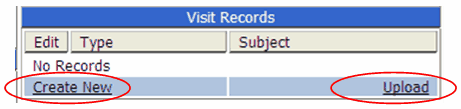
In the Visit Records section of the Summary Page, select “Create New” to create a new record, or “Upload” to upload an existing document from your computer’s hard drive to store in this Visit for future reference.
Create New
Click “Create New” in the “Visit Records” section of the Summary page
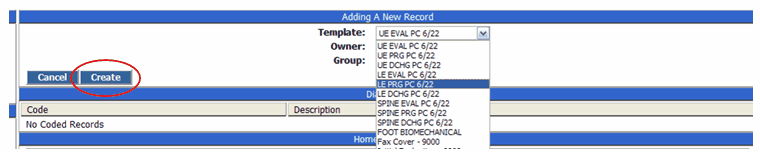
Make your template selection from the draw down menu and click “Create”
Upload
Click “Upload” in the “Visit Records” section of the Summary page
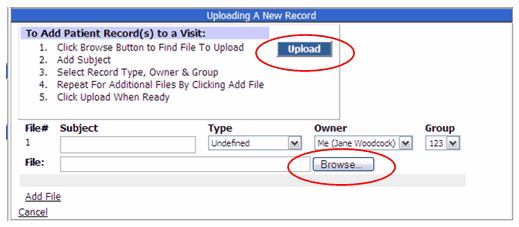
Browse your computer’s hard drive for the document you want to Upload to the Patient Visit, and click “Upload”. Fill in the necessary fields and click “Add File”. Word documents and JPEG documents can be uploaded.
The record will open in the Editor Screen of PatientChart.