This Guide will walk you through creating new MD Users.
Create new MD Users Guide
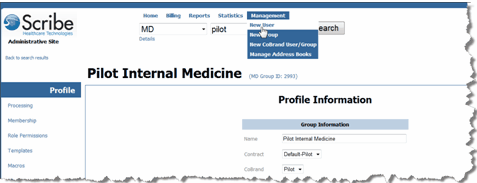
Return to the Admin Home page. Click on Management, then New User.
Hint: New MD or MT users can be added via the Clone process if a user already exists and the new user will have the same role permissions
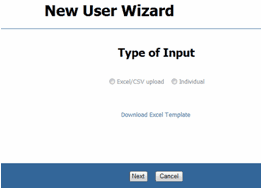
At this screen choose the radio button “Individual” then click next.
All fields marked ** required fields.
For the type, always choose MD unless you are specifically assigning an MT user.
Note that the system auto selects a password for you. You can leave it or change it. Your screen will look similar to this:
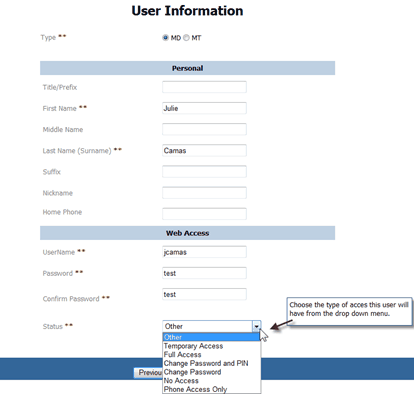
Enter the Web Access information:
User name: Enter in the user name. This will be what is used by the user to login. If a username is or is not available, the system will display the findings.
Scribe recommends the user’s first initial and last name.
Password: You can either use the computer generated password or modify it.
Status: Assigns the user status. You may pick from the following categories from the drop down box.
| • | Temporary Access: Functions the same as Full Access, but the different title serves as a visual "reminder" to the group Administrator to remove access for this user at whatever time interval this removal is needed. The Scribe system does not prompt removal of the user. |
| • | Full Access: Access to the platform |
| • | Other: undefined |
| • | Change Password and PIN: The system will prompt the user to change password and pin the next time they login to the Scribe system. |
| • | Change Password: The system will prompt the user to change the password the next time they log into the Scribe system. |
| • | No Access: The user login will not allow access. The dictator’s records will remain visible within the group. |
| • | Phone Access: Allows dictation without internet viewing capabilities. |
Once this is complete, click “next” at the bottom of the screen.
The Wizard will take you to the:
Group Membership and Role Permissions
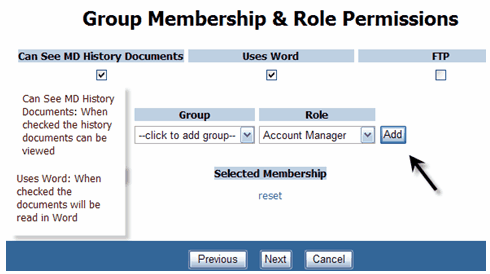
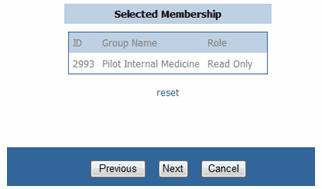
To add the user to the Group: Select the drop down menu and select the group to add the user to, select the role. In this example the user is being added to the Pilot Internal Medicine Group with the Read Only role. Click on Add.

The user will show as being added to the following group. Click Next.
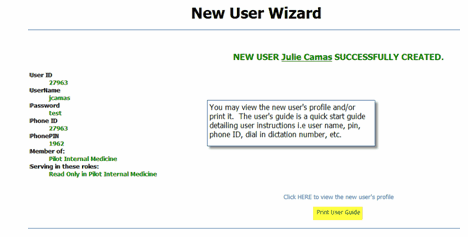
The Review Information page will display. Proofread the information and if changes need to be made click on Previous. If you wish to proceed, click on Finish to save the new user in the database. The following screen will display to let you know that you have created the new user.
Role Permissions
As you add users to the group, default Role Permissions can be assigned. Role Permissions can be set at the Group level or the User level. Setting Group level Role Permissions allows for all users in the same Role to automatically be assigned the permissions selected for the selected Role in the selected Group. In other words, set the role permissions at the Group level IF a Group wants all of the users (with the same Role) to have the same permissions.
User level Role Permissions can be set individually upon application.
First Step:
Search for and select the group from the Admin home page. At the top of the page will be a “Home” link.
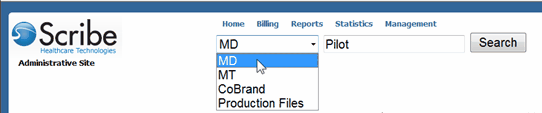
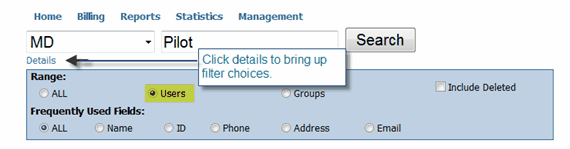
Choose the type of group you want to find by choosing the option from the drop down arrow.
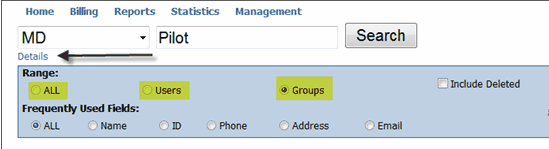
By Clicking on “Details” under the “MD” box, you can filter or narrow your search. A blue box will appear and allow you to enter your choices.
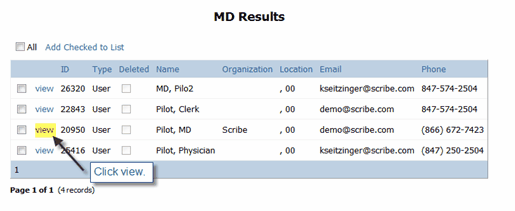
In this example, the search yielded 4 records. Choose the record you are looking for or start all over again. For this example, Pilot Internal Medicine will be used.
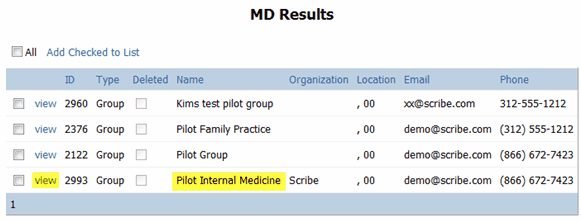
Click on view to view this group.
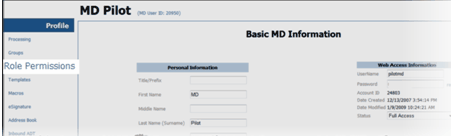
When the group “Profile Information” page is displayed, click on the “Role Permissions” link from the left sidebar. The “Group Role Permissions” page is displayed.
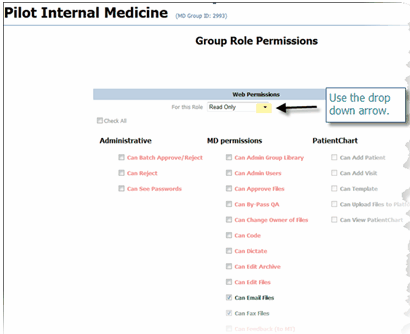
Next select the role for which you want to set Group Role Permissions from the drop down menu. Note that for some roles (such as “Read Only”) the Scribe system has some System Level defaults pre-set, these will be in green.
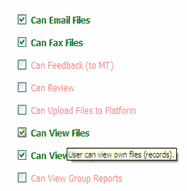
These can be left as they are, or can be modified to meet the group needs. Simply check or uncheck the permissions and then click “Save” when finished.
HINT: Scrolling over each permission brings up a tooltip description of each permission function.
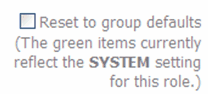
At the bottom of the page you will note two check box options. The first is “Reset to Group defaults”. In the case of Role Permissions pre-set by the Scribe system, the text will read “The green items currently reflect the SYSTEM setting for this role.” If your group selects permissions other than the pre-sets, this will read “The green items currently reflect the GROUP settings for this role.” This informs the Administrative user whether the current settings have been modified from the original Scribe settings or not.
Checking this box, then clicking “Save” will return your Group settings to System level settings pre-set by Scribe.
The second option is entitled “Apply to all group members in this role”. This allows the Administrator to reset all group members with the same role to a standard set of permissions based on the Group Role Permissions settings. Please note the pop-up warning that appears when this setting is scrolled over or checked. Neither setting will take effect until “save” is clicked.

Single User Role Permissions:
To customize the Role Permissions for the user (independent of the default), return to the Admin Home page and search for the user and select the appropriate group.
For this example, there were four users. Once you find the user you need, click on “view” hyperlink. Also note the unique ID # assigned to each user or group.
Click on Role Permissions from the left sidebar and proceed to complete the Role Permissions.
Rev 12/4/2009